Welcome to Moda Fabrics!
Christmas in July ~ Part 1
Christmas in July ~ Part 1
Happy Friday!
Even in July, I'm already a little behind when it comes to getting ready for Christmas. My parents used to tease that the week before Christmas, you could go my bedroom at 11:oo pm - even on a school night - and the light would be on and you could hear the sewing machine going full-speed. And I still always wound up wrapping a box or two filled with the almost-finished whatever I was giving someone. Fast-forward about 20 years - snort - and things haven't changed. I'm finishing stitching the night before... I've got three more Fridays to see if I can be finished with my projects ahead of time.
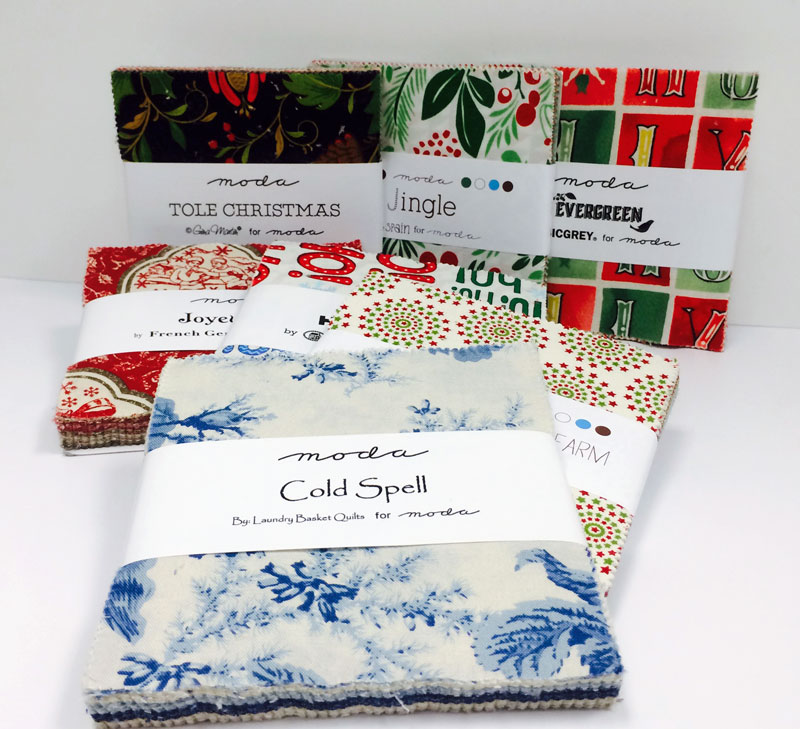
This is what we've got planned... it's still early but Christmas and Holiday fabric is arriving in stores. Since I obviously need to get started now to have any hope of being finished by December, we're going to share some of the ideas I've found for little gifts to make. This week, it's all about charm packs.
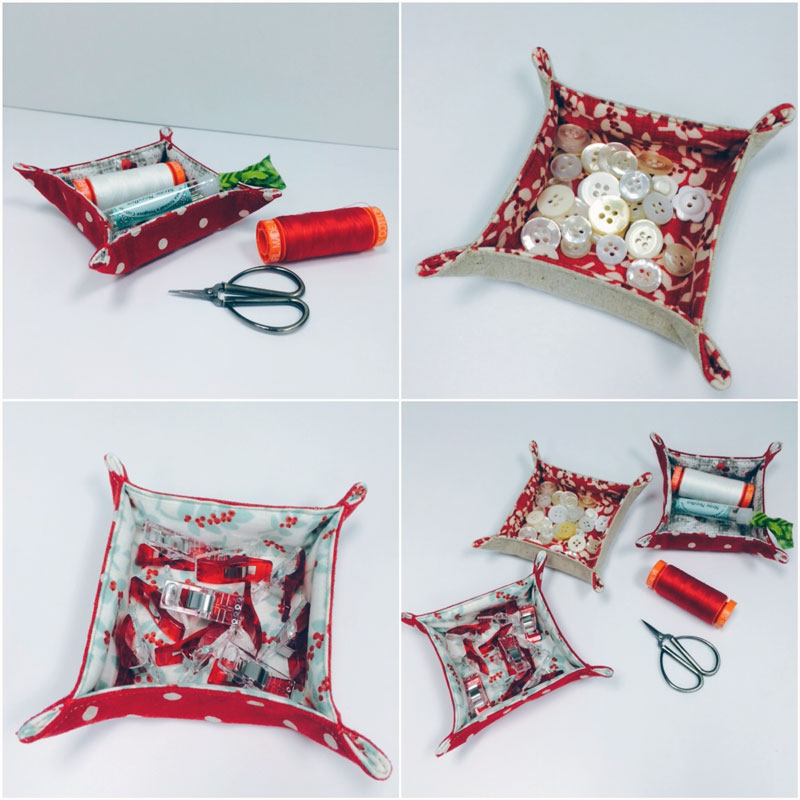
A month or so ago, I happened upon Lisa and Sarah, a mother and daughter team who share recipes, project ideas and tutorials on their blog, A Spoonful of Sugar. They had made an absolutely adorable little tray using charm squares.
I immediately gathered my supplies... and left them sitting in my sewing room until Wednesday night. I used one charm square for the lining and a square of Mochi Linen for the outside. They can be made with two charm squares, meaning that one charm pack would make 21 trays. The only other things you need are batting, thread and some embroidery floss or thread - I used Aurifil 12 wt. thread.
For Lisa and Sarah's terrific instructions on making these - Charm Square Fabric Tray.
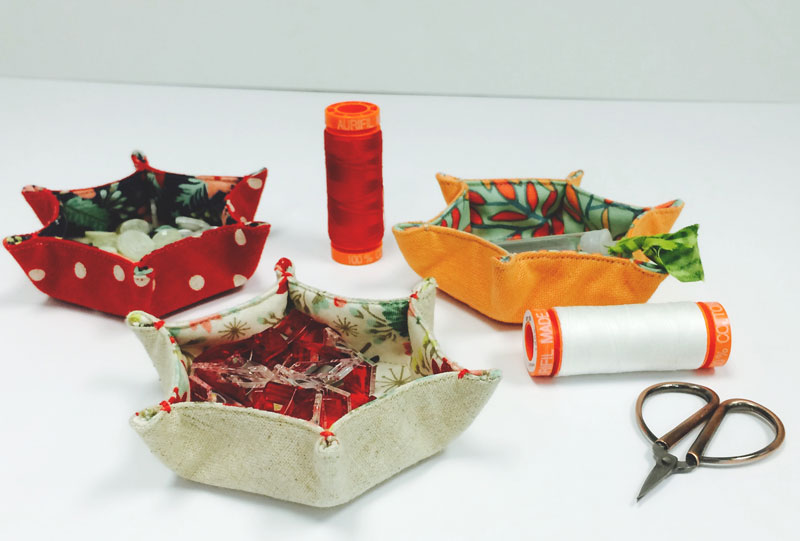
After they made the Charm Square trays, they got an idea for another tray... using a Moda Honeycomb pre-cut.
Hexagon trays - these are my favorite. A Spoonful of Sugar - Hexagon Fabric Tray.
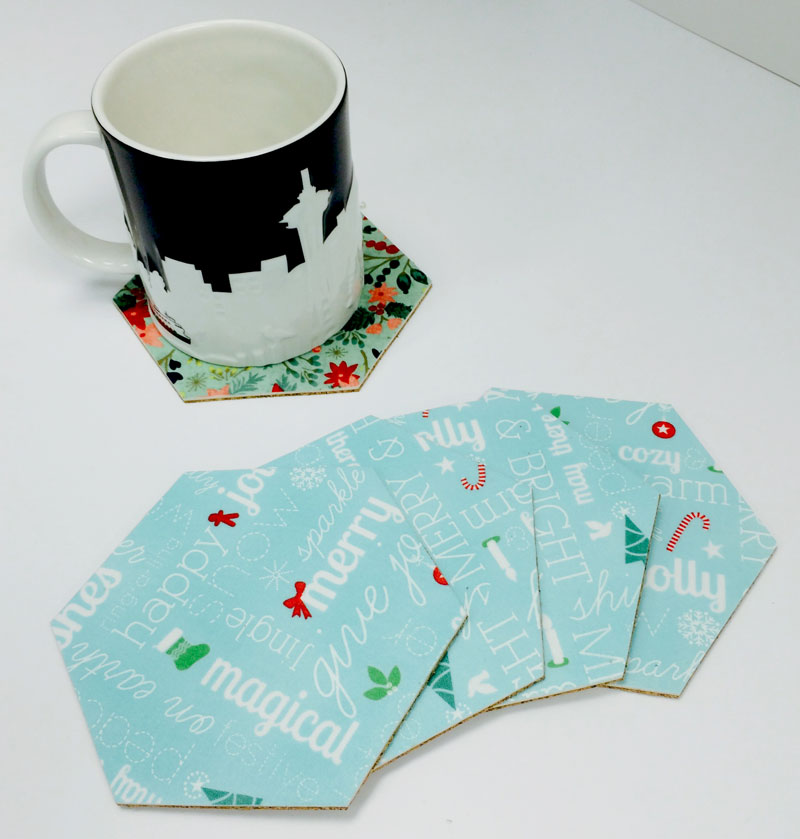
While I was playing with the hexagons - sort of explains why I get behind, doesn't it? - I had an idea for another little project I've made before. Coasters. Do you use coasters? Thanks to my Mom, I use coasters all the time. I even have a couple on my desk for my coffee, tea and water.
These are easily made using a Honeycomb pre-cut or a hexagon ruler.
Bigger is better - at least the 4 1/2" cut hexagon. There isn't any seam allowance so it will finish about the size it's cut. These rulers - the Hexagon Template by Darlene Zimmerman for EZ Quilting and the Hex 'n More by Jaybird quilts - are terrific. So is the Hexagon Ruler by Marti Michell, I just didn't have one of those handy. (All three can also make all sorts of other really cool projects.)
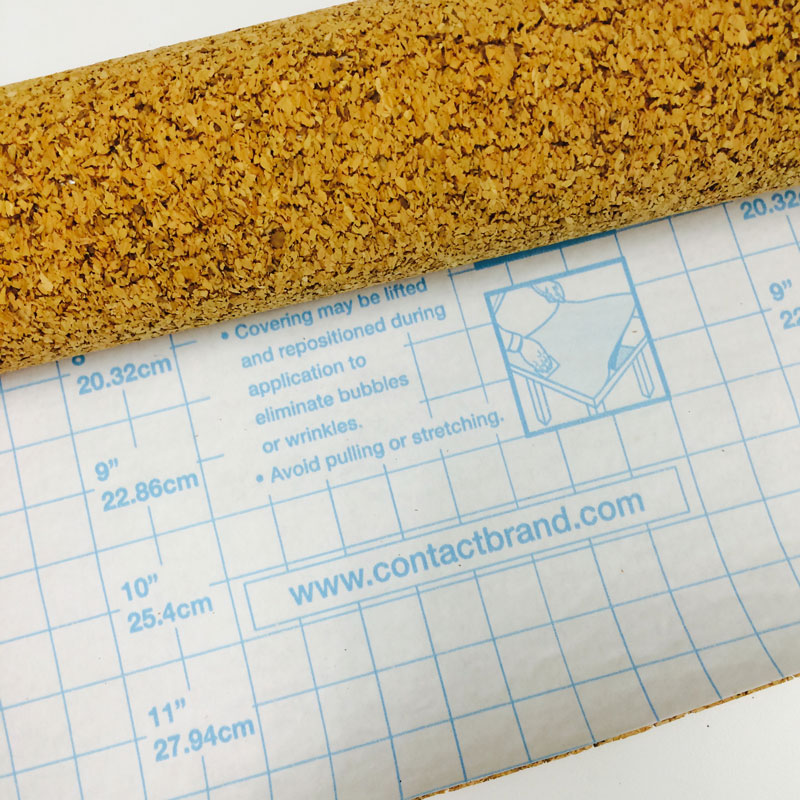
The items required are fabric, Steam-a-Seam Lite, illustration board and a roll of sticky-back cork. It's made by Contact and it's available at Target, Walmart, The Container Store and any place that sells Contact Brand. I'm sure there are other brands but I'm not familiar with them.
If you're using pre-cut hexagons, put the hexagon between the layers of paper and adhere the fabric to one side of the Steam-A-Seam. If you're cutting your own hexagons, adhere the fabric first and then cut the hexagons - it's much easier that way.
Peel off the backing and adhere to cut hexagon to the illustration board. A little steam is fine - you'll be surprised how quickly and easily it adheres. (I use this same process to make mat-boards using fabric.)
Using a sharp rotary cutting blade, cut the hexagon from the illustration board using the ruler-template or a rotary ruler placed along the edges of the fabric. The illustration board will cut fairly easily with a sharp blade. Press again to really seal the fabric to the board, especially along the edges.
Optional - At this point, there are two additional things you might want to do.
- Illustration board comes in white and black. Unless your fabric is black or very dark, use the white illustration board. If you'd like the exposed edge of the illustration board to be less obvious, use a small colored stamp pad to ink the edges. A Sharpie will also work for the stamp pad is much easier and I seem to be better at not getting the ink on the fabric.
- To seal the sides and make the coaster a little bit water-resistant, paint the top and sides with a thin coat of Mod Podge. I use the Matte but Satin or Gloss will also work. If you're inking the sides, do this step after.
From the cork, cut squares a little larger than the widest measurement of the hexagon - I used 5 1/2" x 5 1/2" squares. Peel off the paper backing and center the illustration board on the sticky side of the cork - fabric-side facing up.
Using a rotary cutter - a 28 mm or 16 mm size works best for this - trim the cork to the edges of the illustration board. And that's it.
And that's all there is to it.
Whether you're making a project for the holidays or something else, I hope you get to do a little bit of sewing this weekend. I'm hoping to finish a project I started back in January. One of them anyway... if memory serves, I started three or four of them the same week.
That probably also explains my always being a little bit behind.
Have a great weekend!


Comments